DHTML Style: Determines how the options in the selector are displayed in Editable, Interactive, and Express Mode. The following styles are available.
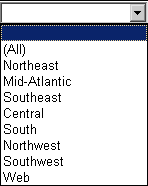
Drop-down
Slider: This selector style is most effective when used to browse data in a graph. Place the slider under or above the graph it will control. Then specify the graph as the target of the slider selector and specify one of the attributes or metrics in the graph as the selector's source. This allows an analyst to drag the slider to view different sets of data in a graph. Analysts can also adjust the size of the slider to view different ranges of values in the graph. This style is also available for metric condition selectors

Checkboxes

Radio Buttons

Button Bar: Use this selector style or the Link Bar style to create tabs in your document.

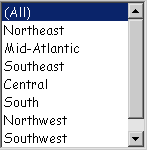
Listbox
Link Bar: Use this selector style or the Button Bar style to create tabs in your document.

Qualification: This style is available only for metric condition selectors, and allows users to complete a metric qualification to filter data. For steps to create a metric condition selector, see Creating a selector that filters metric values.
Flash Style: Determines how the selector is displayed in Flash Mode, if it is an interactive Flash-only selector. For more information about creating selector widgets, see Creating an interactive, Flash-only selector. The options are:
Fish Eye Selector: The Fish Eye Selector is an interactive style of selector that is displayed only in Flash Mode. Any item that the user hovers the cursor over or selects remains magnified, while the remaining items are minimized. This style of selector is useful because it allows you to choose from a large list of elements without having to see all of the elements displayed at the same time. In Interactive, Editable, and Express Mode, a Fish Eye Selector can be displayed as one of the DHTML styles of selectors listed above.
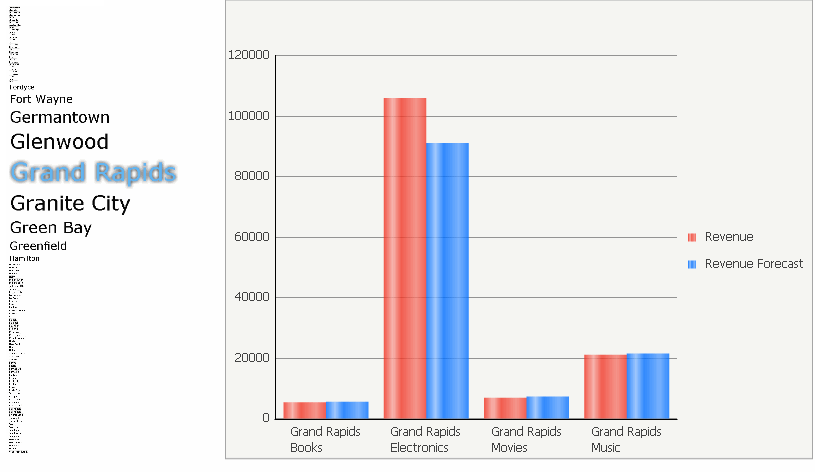
The image below shows a Fish Eye Selector to the left of a graph that it controls. When the Grand Rapids city is chosen from the selector, the target graph on the right displays data for Grand Rapids.
Date Selection: An interactive style of selector that is displayed only in Flash Mode. The Date Selection selector is a calendar selector that allows you to select which dates you want to see data for in a document. You can see all of the dates of each month in the widget, which allows you to be able to select a range of dates more easily.
Since a Date Selection selector is displayed only in Flash Mode, determine how the selector is displayed in non-Flash modes by specifying a DHTML style, described above. For steps to create a Date Selection selector, see Creating a Date Selection widget as a selector.
Action Type: Determine whether the selector displays attribute, custom group, or consolidation elements; metrics; or panels.
Source: Determine the attribute, custom group, or consolidation whose elements are displayed in the selector (for an element selector) or the metric whose values are qualified on (for a metric condition selector).
Selection Type: Determine whether the selector includes or excludes the selected items from the target. It is available only for element selectors and metric condition slider selectors. For example, the attributes that a user chooses in the selector can either display in the target, or they can be hidden. If a metric condition selector has a title bar, a user can use the title bar to choose for himself whether to include or exclude the selections. For steps to define the Selection Type, see Determining whether the selector includes or excludes data: Selection type.
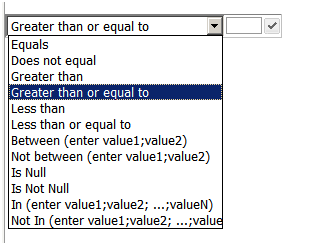
Qualify on: Determine whether the selector filters metric values or rank. This option is available only for metric condition selectors. If a title bar is displayed for the metric condition selector, a user can change this setting for himself. The options are:
Value: Filters the metric's values.
Rank Highest: Ranks the metric's value, where 1 is the highest value, and then filters by rank.
Rank Lowest: Ranks the metric's value, where 1 is the lowest value, and then filters by rank.
Rank % Highest: Filters the data to display the top x% of items in the target. For example, if the target Grid/Graph contains eight items, Rank % Highest = 25 displays the top two items.
Rank % Lowest: Filters the data to display the bottom x% of items in the target. For example, if the target Grid/Graph contains eight items, Rank % Lowest = 25 displays the bottom two items.
Action Type: Determine whether the selector is used to submit, recalculate, or discard the changes to data displayed in a Transaction Serviced-enabled document. For example, a user can edit the data displayed in a grid, then submit their changes to update the underlying data, or choose to recalculate derived metrics and subtotals displayed in the grid based on the changed data. For steps, see the Report Services Document Creation Guide.
Targets: Determine which Grid/Graphs,
panel stacks, and other selectors the selector affects. If targets are
automatically maintained in the layout, then attribute and metric selectors
automatically target all Grid/Graphs and panel stacks that are in the
same panel or document section as the selector. If targets are not automatically
maintained, you must manually select the targets when you create selectors.
You must always select the target for panel selectors, regardless of whether
targets are automatically maintained.
To
define
a selector that targets another selector, you must disable automatic
target maintenance and manually specify the target. Alternatively, you
can keep automatic target maintenance if you can place the target selector
on a panel in the same document section as the source selector; the source
selector will automatically target that panel stack. For more information
on automatically maintaining targets for selectors, including instructions
to enable and disable the functionality, see
Automatically
maintaining targets for selectors.